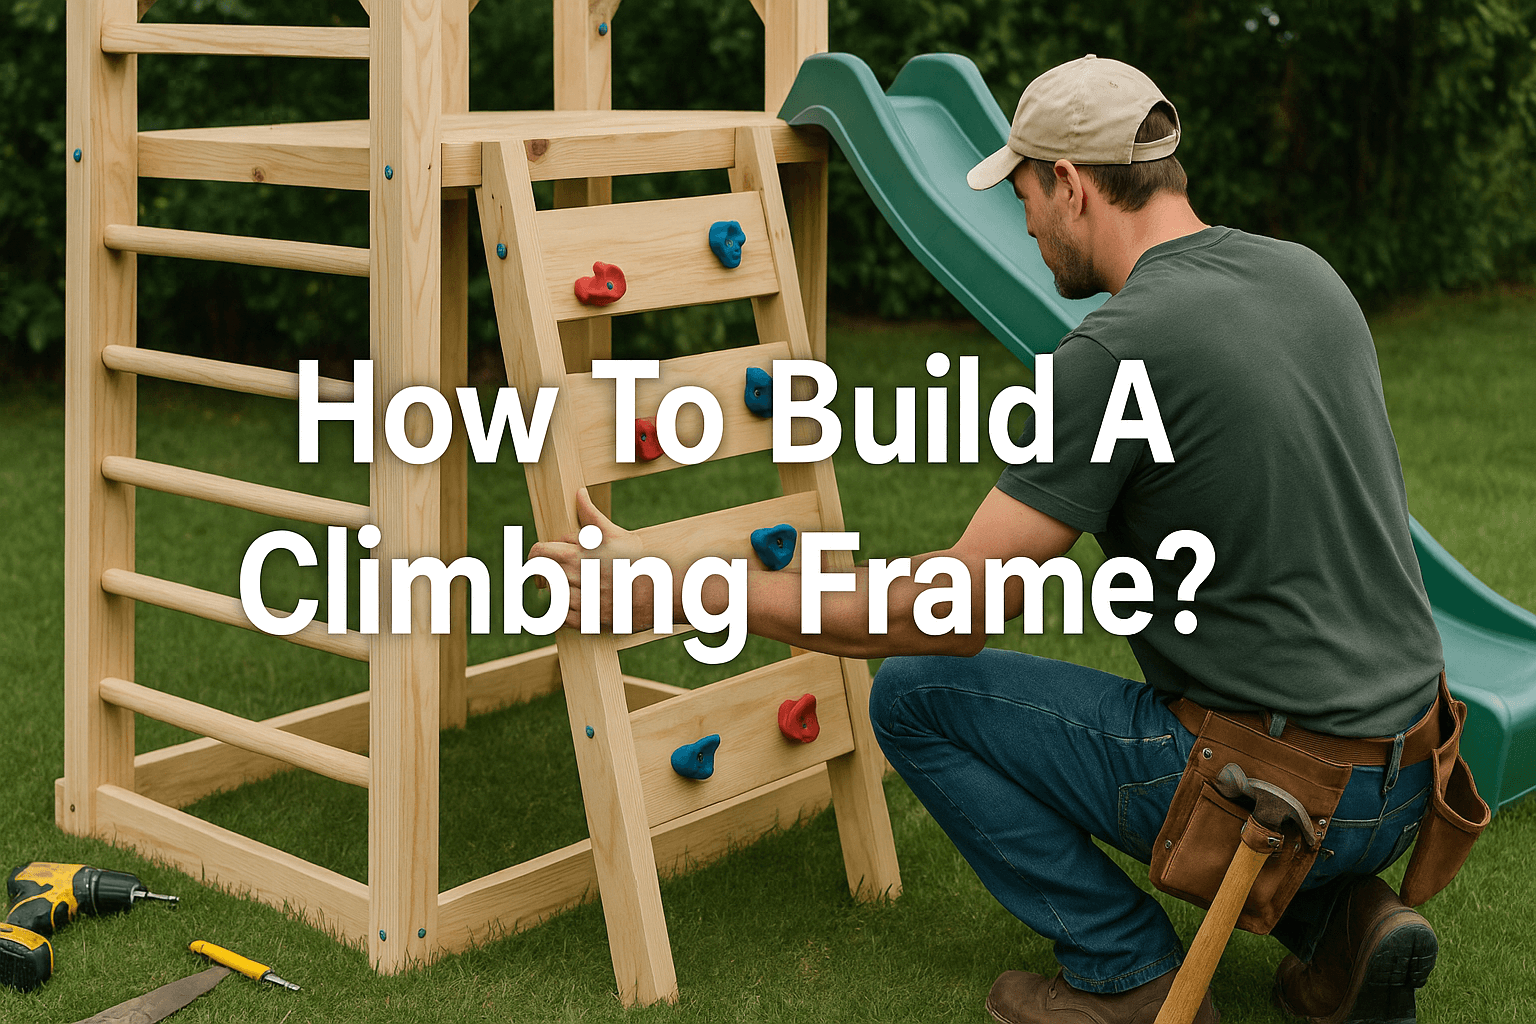
How To Build A Climbing Frame?
Ever looked at a climbing frame and thought, “Could I actually build one of those?”
Yes—you absolutely can. And no, you don’t need to be a carpenter or own a shed full of tools. Turns out, building a play frame isn’t just for DIY pros—it’s for parents armed with YouTube courage and leftover screws.
Keep reading for simple steps, clever tips, and stress-saving tricks you’ll thank us for later.
Spoiler: it’s easier than you think, and way more fun than flat-pack furniture.
Planning Your DIY Climbing Frame Project
Essential Considerations Before You Start
Determining Size and Location (space requirements, garden layout)
First things first—where’s this beast going?
If you’ve got a big garden, brilliant. You’ll have loads of design freedom.
Small space? Don’t panic. You’ll just need to be a bit more strategic. Think about sightlines, sunlight, and keeping it well away from fences (or that prize-winning flower bed).
Age matters too. What’s fun for a five-year-old might terrify a toddler.
Choosing the Right Materials (wood types, treated timber, hardware)
Cheap wood might seem like a good idea… until it starts splintering or sagging.
Pressure-treated timber or cedar is your best bet—both are sturdy and weather-resistant.
You’ll also want reliable screws, brackets, and a few extras like climbing nets or thick rope.
Pro tip: Buy a little more than you need. Mistakes happen (we speak from experience).
Safety Standards and Regulations (EN71, fall zones, critical fall height)
We all want our kids to be adventurous—not in A&E.
Follow EN71 safety standards where possible, and always factor in proper fall zones.
A soft landing surface (like bark, grass mats, or rubber mulch) is non-negotiable.
If your deck or platform is over a certain height, check the critical fall height recommendations.
Better safe than sorry.

Tools and Equipment You'll Need
Basic Woodworking Tools (saws, drills, measuring tapes)
You don’t need a professional workshop, just the basics:
-
A decent saw (power or manual)
-
Cordless drill with extra bits
-
Measuring tape, spirit level, and pencil
Even a basic mitre box can help you get cleaner cuts.
Safety Gear (gloves, eye protection)
No matter how confident you feel, please wear gloves and eye protection.
Flying sawdust is no joke.
Neither is dropping a plank on your foot.
Step-by-Step Construction Guide
Preparing the Site and Materials
Ground Preparation and Levelling
Start by marking your area with string or spray paint.
Then it’s time to dig—literally.
You’ll want holes for the main posts deep enough to support weight, ideally filled with concrete.
Make sure the ground is flat. An uneven frame not only looks dodgy—it can wobble dangerously.
Cutting and Treating Timber
Measure twice, cut once.
Label your pieces as you go to keep things organised.
If any wood isn’t pre-treated, coat it with a suitable wood preservative before assembly.
Yes, it takes a bit longer. But it’ll last a whole lot longer too.

Assembling the Main Structure
Constructing the Frame (legs, beams, supports)
Time to get building.
Start with the base posts and main beams—these are your climbing frame’s skeleton.
Use strong brackets and double-check each connection as you go.
We recommend assembling on the ground, then lifting parts into position with help (or bribery—tea and biscuits work wonders).
Adding Platforms and Decks
Once the frame is up, add platforms or decks for kids to climb on.
Use thicker boards here—these spots will take the most weight and foot traffic.
And always sand the edges to avoid splinters.
Attaching Accessories and Finishing Touches
Installing Swings, Slides, and Ladders
Now for the fun stuff.
Screw in your rock climbing holds securely (we like to mix large and small ones for challenge and confidence).
Swings? Use proper swing hooks or eye bolts, not leftover curtain rods from the loft.
Rope ladders, slides, fireman poles—this is where the personality comes in.
Just make sure everything’s attached to reinforced parts of the frame.
Applying Protective Finishes (stain, sealant)
Once everything’s up, give it a good once-over with weather sealant.
Stain or clear wood protector is up to you—just make sure it’s outdoor-grade.
Reapply once a year to keep your frame looking fresh and holding strong.

Ensuring Safety and Longevity
Important Safety Checks
Anchoring the Frame Securely (ground anchors, concrete)
We’ve said it before, but it’s worth repeating—anchor everything.
Concrete footings are great for tall or heavy frames.
Ground anchors work well for smaller builds and are easier to adjust if needed.
Either way, don’t leave it free-standing. Kids can surprise you with how much force they generate when playing.
Regular Inspections Post-Construction
Set a reminder to check the frame every few weeks (especially after storms or parties).
Look for wobbly joints, loose bolts, or wood starting to warp.
Catch problems early and they’re quick to fix.
Maintenance for Your DIY Climbing Frame
Routine Cleaning and Treatment
Every few months, give the whole structure a clean.
A hose-down and scrub with a stiff brush will do the trick.
This stops mould, dirt build-up, and slippery surfaces—especially after winter.
Checking for Wear and Tear
Ropes fray. Screws rust. Wood splits.
It’s all normal—but regular checks keep everything safe.
Make it part of your weekend garden routine. You’ll keep your frame going strong for years.
Final Thoughts
And there you have it—your homemade climbing frame, built with your own two hands (and maybe a few swear words).
It’s not just about the timber or the tools. It’s about giving your kids something amazing: a place to climb, swing, laugh, and burn off all that energy.
And when they’re knackered, you can sit back with a cuppa and know you built something brilliant.
Need help planning your next project? You know where to find us.
Have you checked out our other posts?
How Long Do Wooden Climbing Frames Last?
Do You Need To Anchor A Climbing Frame?
How Do You Prepare The Ground For A Climbing Frame?
How To Secure A Swing On Grass?
How To Level A Climbing Frame?


Leave a comment