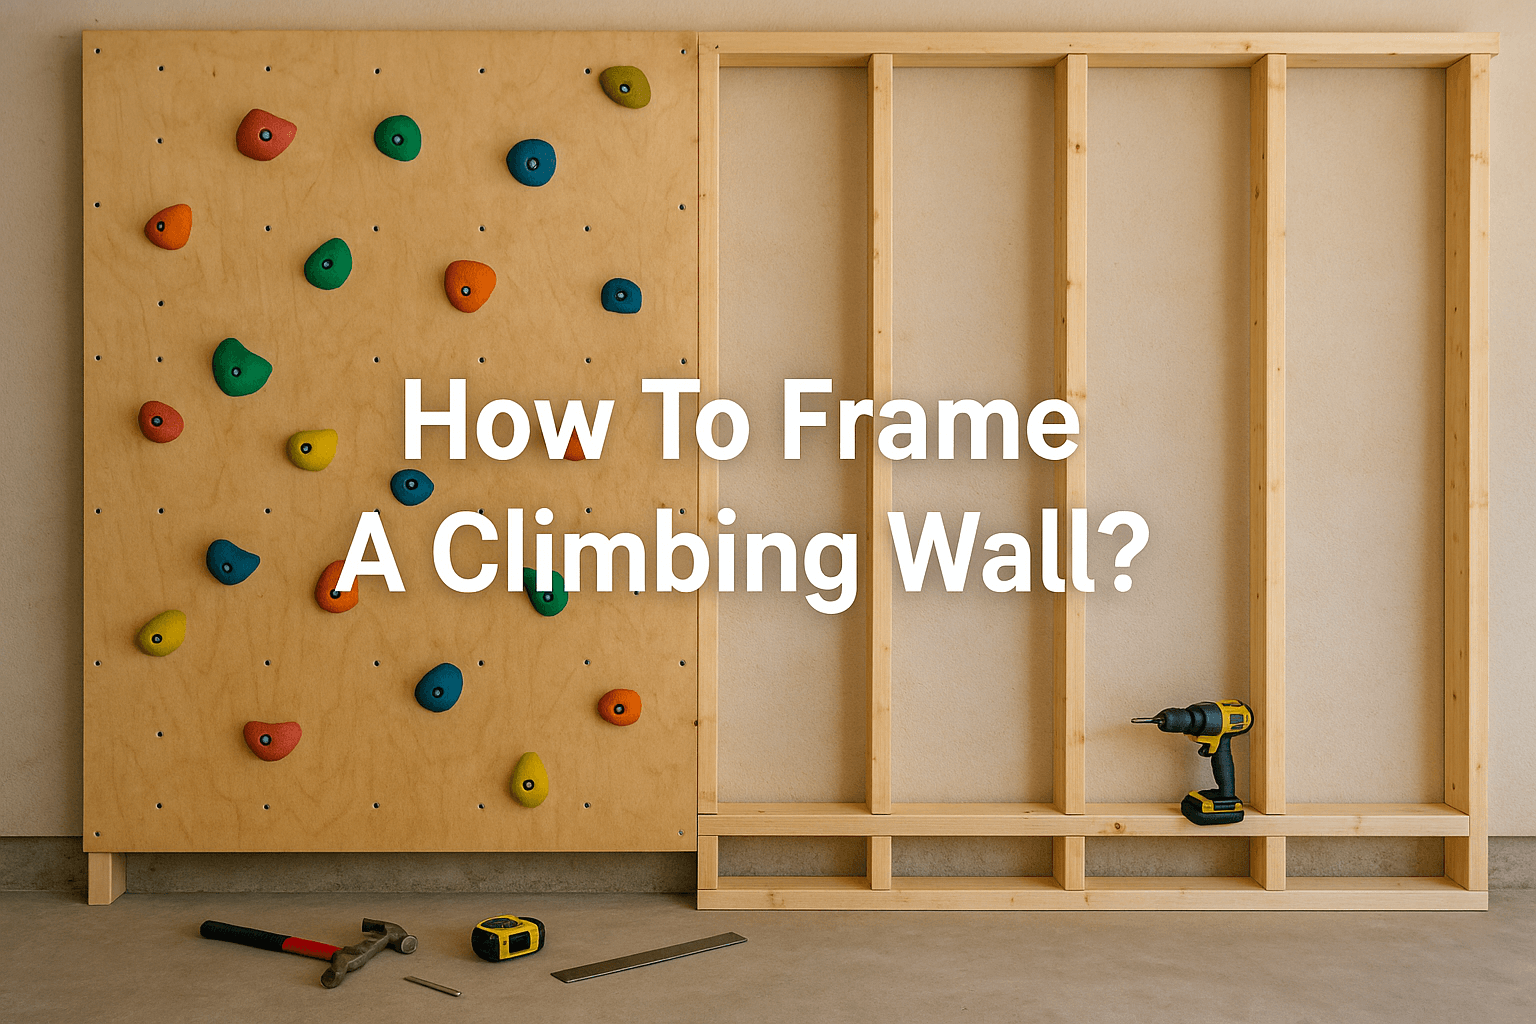
How To Frame A Climbing Wall?
Built a play frame but fancy going vertical? Framing a climbing wall is just timber, tools, and a bit of planning (plus snacks for morale). Short answer: build a solid frame using pressure-treated timber, strong fixings, and proper bracing. Keep reading for pro tips, safety hacks, and frame-saving mistakes to avoid.
Understanding Climbing Wall Framing Basics
Types of Climbing Walls and Their Structure
Freestanding vs. Wall-Mounted (shed, garage, basement)
Before picking up a saw, take a moment to think about where this wall is going. A freestanding frame might work best in a garden or large garage, while wall-mounted options are perfect for sheds, basements, or spare walls.
Each setup has its own perks. Freestanding walls can move with you, while mounted ones save space and materials. Think about light, ventilation, and headroom before committing.
Vertical, Overhanging, or Angled Designs
Next up: wall style. Do you want a simple vertical wall or something more adventurous like an overhang or angled setup?
Angled walls challenge climbers more but need stronger framing. Sketch it out first. Even a quick pencil drawing helps spot design issues early.
Essential Materials and Tools
Lumber Selection (dimensional lumber, plywood sheets)
Materials matter. Most home walls use pressure-treated timber for the frame and thick plywood sheets for the climbing surface.
Make sure your timber is rated for UK conditions—damp basements and rainy gardens are no joke. Choose sustainably sourced wood where possible. It lasts longer and is safer for indoor spaces.
Fasteners and Hardware (screws, bolts, T-nuts)
Don’t skimp on fixings. Use galvanised or stainless steel screws and bolts—they won’t rust over time, even in damp sheds.
Make sure your fasteners work with your timber and won’t split the wood. Pre-drilling can help with that.
Basic Carpentry Tools (saws, drills, level)
You don’t need a full workshop. A decent saw, power drill, and a good spirit level will take you far.
Add measuring tape, clamps, and safety gear to your kit. And if you’re planning a big wall—maybe borrow a mitre saw.

Step-by-Step Framing Process
Planning and Design
Measuring and Marking the Space
Start by measuring everything—twice. You want a climbing wall that fits the space, not one that blocks the back door or heating vent.
Use chalk lines or masking tape to outline where it’ll go. It helps visualise the finished build before committing.
Creating a Detailed Frame Diagram
A simple drawing is better than nothing. Plot out the wall, the frame studs, and where each plywood panel will sit.
You can go digital with SketchUp or just sketch it on paper. Mark measurements clearly so you don’t cut the wrong length halfway through.
Constructing the Frame
Building the Base and Support Structure (studs, joists, bracing)
Lay the groundwork—literally. Your base needs to be level and secure, especially if it’s sitting on concrete or grass.
Attach studs and joists based on your diagram. Use diagonal bracing to stop any wobble. Think of it like a giant Jenga tower: without support, it topples.
| Component | Material Recommendation | Key Considerations |
|---|---|---|
| Frame | Pressure-treated timber | Durability, weather resistance |
| Hardware | Galvanised or stainless steel | Corrosion resistance, strength |
| Bracing | Timber or metal | Stability, load-bearing capacity |
Attaching the Plywood Panels (climbing surface)
Once the frame is up, it’s time to add your panels. Use thick plywood—minimum 18mm—for strength.
Pre-mark where your T-nuts will go before attaching anything. Screw or bolt them in securely, spacing them to allow flexibility with holds.

Finishing and Reinforcement
Installing T-Nuts for Holds
T-nuts are the little metal inserts that let you change up climbing routes. Drill holes in the plywood from the front and hammer in T-nuts from the back.
It’s easier to do this before mounting the panels. Trust us—you don’t want to pull the whole thing down later.
Adding Reinforcement and Bracing for Stability
Go over everything once the panels are on. Wiggle-test each section. If anything flexes, add more bracing.
Double up studs in high-stress areas and reinforce any corner joints. A solid wall now means fewer headaches later.
Safety and Advanced Considerations
Ensuring Structural Integrity
Load Bearing and Weight Distribution
Your wall will carry more than just plywood. Climbers, holds, and gravity all add load.
Spread that weight evenly. Anchor heavy points into wall studs or joists and avoid overhanging too far without strong bracing.
Anchoring to Existing Structures (walls, floors)
Fix your frame securely to what’s behind or beneath it. Use lag bolts or concrete fixings if needed.
Test your anchors by hanging on the wall yourself before letting the kids loose.

Ventilation and Environmental Factors
Preventing Moisture Buildup
Walls in garages or sheds can get damp fast. Moisture leads to rot—and that’s game over for timber.
Use breathable materials and leave small ventilation gaps behind panels if indoors. Consider dehumidifiers if your space gets clammy.
Considerations for Outdoor Climbing Walls
Going outdoors? You’ll need UV-resistant paint, water sealants, and regular inspections.
Try building under a roof overhang or use a tarp to protect from rain. Always use treated timber and rust-resistant hardware.
Framing Your Climbing Wall: The Final Step
And that’s your wall framed and ready for action. From backyard builds to garage training stations, you’ve now got the know-how.
Check your blueprint one last time, run through your tools, and give your wall a test climb. Feels solid? Great.
Now go grab the climbing holds and get bolting. And don’t forget to snap a photo—we’d love to see what you’ve built!
Have you checked out our other posts?
How Long Do Wooden Climbing Frames Last?
How To Build A Climbing Frame?
Do You Need To Anchor A Climbing Frame?
How Do You Prepare The Ground For A Climbing Frame?
How To Secure A Swing On Grass?
How To Level A Climbing Frame?


Leave a comment